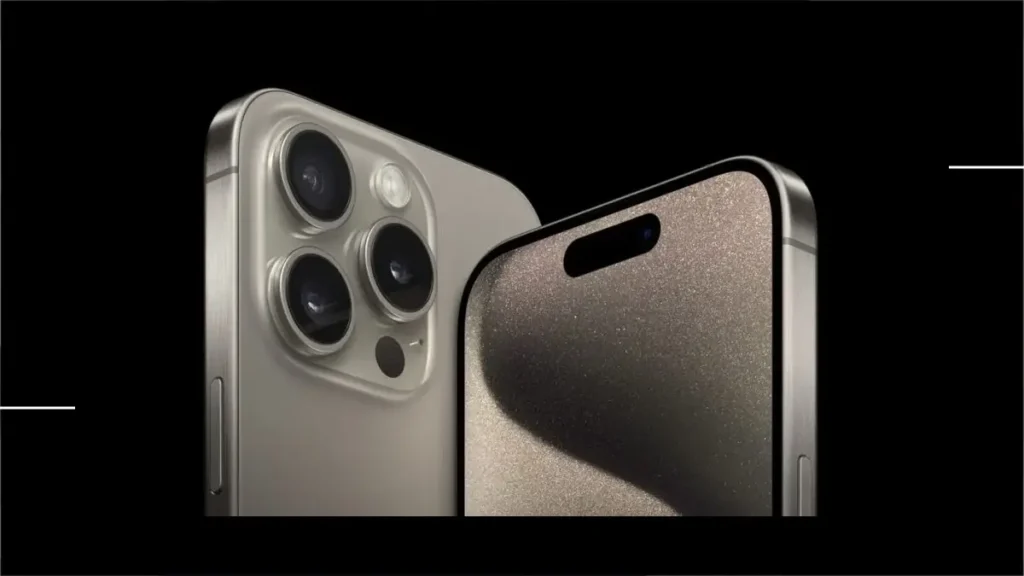
Backing up your iPhone ensures that your important data, photos, apps, and settings are safe. Whether you prefer using iCloud, a Mac, or a Windows PC, this guide will walk you through the different methods to back up your iPhone. Follow these step-by-step instructions to keep your data secure.
Why You Should Back Up Your iPhone
Backing up your iPhone is crucial to ensure you don’t lose any important data if your device is lost, stolen, or damaged. By regularly backing up, you can easily restore your data on a new device or after resetting your current one. Backups also help with transferring data when upgrading to a new iPhone.
Back Up iPhone Using iCloud
iCloud is one of the easiest and most convenient ways to back up your iPhone. This method ensures that your data is stored in the cloud and can be accessed from any Apple device. Follow these steps to back up your iPhone using iCloud:
Step 1: Enable iCloud Backup
- Open Settings: On your iPhone, go to the Settings app.
- Tap [Your Name]: At the top of the screen, tap on your name to access your Apple ID settings.
- Select iCloud: Scroll down and select “iCloud.”
- Tap iCloud Backup: From the iCloud menu, choose “iCloud Backup.”
- Turn on Backup This iPhone: Make sure the toggle switch is turned on to enable automatic daily backups.
Step 2: Perform a Manual Backup
- Back Up Now: To initiate a backup immediately, tap “Back Up Now.”
- Ensure Wi-Fi Connection: Make sure your iPhone is connected to a Wi-Fi network, as iCloud backups require Wi-Fi.
Step 3: Customize Your Backup Settings
- Choose Apps to Back Up: To manage which apps are included in the backup, go to Settings > [Your Name] > iCloud > Manage Storage > Backups.
- Turn Off Unnecessary Apps: Turn off apps you don’t want to back up. This will also delete the app’s existing data from iCloud.
Using Cellular Network for Backup
If your iPhone supports 5G, you may have the option to back up over a cellular network. To enable this feature:
- Go to iCloud Backup Settings: Navigate to Settings > [Your Name] > iCloud > iCloud Backup.
- Turn on Back Up Over Cellular: Toggle this option to allow backups using your cellular data.
Back Up iPhone Using Your Mac
If you prefer backing up your iPhone to your Mac, especially if you want a physical copy of your data, you can follow these steps. This option provides faster recovery and larger backup capacity compared to iCloud.
Step 1: Connect iPhone to Your Mac
- Use a USB Cable: Connect your iPhone to your Mac using a USB cable.
- Open Finder: If you’re running macOS 10.15 (Catalina) or later, open Finder. For earlier macOS versions, you will use iTunes instead.
Step 2: Select Your iPhone in Finder
- Select iPhone in Finder Sidebar: On the left side of the Finder window, under Locations, select your iPhone.
- Click General: In the Finder window that appears, click the “General” tab.
Step 3: Back Up iPhone to Your Mac
- Select “Back up all of the data on your iPhone to this Mac”: Choose this option to store a full backup on your Mac.
- Encrypt Your Backup: If you want to protect your backup with a password, select “Encrypt local backup.” This will ensure that your data, including health and password data, is secure.
- Click Back Up Now: Click the “Back Up Now” button to start the process.
Wireless Backup Option
You can also set up syncing over Wi-Fi to back up your iPhone wirelessly:
- In Finder, click “Show this iPhone when on Wi-Fi”: This allows your iPhone to back up whenever it is connected to your Wi-Fi network.
Back Up iPhone Using Your Windows PC
For Windows users, iTunes is the go-to tool for backing up iPhones. Here’s how to use iTunes to back up your iPhone.
Step 1: Connect iPhone to Your Windows PC
- Use a USB Cable: Connect your iPhone to your PC using a USB cable.
- Open iTunes: Launch the iTunes application on your computer.
Step 2: Select Your iPhone in iTunes
- Click the iPhone Button: In the top left corner of the iTunes window, click the iPhone icon.
- Go to Summary: In the left sidebar, click “Summary” to access your iPhone’s settings.
Step 3: Back Up iPhone to Your PC
- Click “Back Up Now”: Under the Backups section, click “Back Up Now.”
- Encrypt Your Backup: If you want to encrypt your backup for added security, check the box that says “Encrypt local backup” and set a password.
View Stored Backups
To view or manage your stored backups:
- Go to Edit > Preferences: In iTunes, click on “Edit” from the menu, then choose “Preferences.”
- Click Devices: Select the “Devices” tab to see a list of your backups. Encrypted backups will show a lock icon next to them.
Conclusion: Choose the Backup Method That Suits You
Backing up your iPhone is essential for safeguarding your data. Whether you choose iCloud for automatic cloud backups or prefer the control of manual backups via a Mac or Windows PC, these methods will ensure your data is safe. Regular backups not only provide peace of mind but also make it easy to switch to a new iPhone or restore your current one in case of emergency.
Make sure to back up your iPhone regularly to avoid losing important information, and choose the method that works best for your needs and available resources.
